Transforming your chalk-painted furniture into a stunning piece of art is easier than you might think, and dark wax is the secret ingredient that adds depth and character. By applying dark wax, you not only create an alluring aged charm but also protect your furniture from wear and tear.
Many of us cherish the beauty of rustic aesthetics, where each piece tells a story. Yet, achieving that perfect aged look can often feel challenging. That’s where this guide comes in-it’s designed to ease your concerns and equip you with the practical know-how to elevate your decor with confidence. As you delve into the process, you’ll discover step-by-step techniques that embrace creativity and invite a sense of satisfaction as you watch your cherished furniture transform into a unique centerpiece. So gather your supplies, ignite your inner artisan, and let’s get started on this enchanting journey of craftsmanship!
How Dark Wax Enhances Chalk Paint Charm
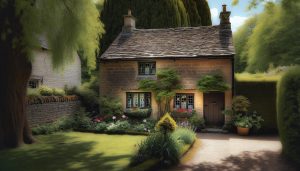
The transformative power of dark wax on chalk-painted furniture cannot be overstated. When applied thoughtfully, dark wax not only enhances color depth but also adds a layer of richness that elevates the overall aesthetic. This velvety finish offers a beautiful contrast to the matte surface of chalk paint, creating a stunning visual impact that captures the essence of rustic charm. Imagine a quaint cottage where hand-painted furniture echoes the beauty of bygone eras, drawing guests in with its stories and warmth.
The application of dark wax imbues surfaces with an aged quality, beautifully accentuating the character of the piece. It seeps into the nooks and crannies, highlighting intricate details and adding dimension to flat surfaces. This technique is particularly effective on distressed furniture, revealing the underlying layers of color and texture. As it settles into crevices, dark wax whispers tales of rustic living, inviting an atmosphere of comfort and creativity. Each brushstroke can transform a simple chair or table into a focal point that sparks conversations about craftsmanship and heritage.
Moreover, dark wax is an excellent companion for those seeking to achieve a more personalized look. By mixing it with clear wax or using it selectively, you can control the depth of tone and sheen. This versatility allows for a tailored approach that suits any decor style, from farmhouse to cottage chic. To create a cohesive look across your living space, consider pairing waxed furniture with natural textures like linen or wood, which harmonize beautifully and celebrate the simplicity of cottage living.
In essence, dark wax serves as a magical tool in your DIY arsenal, bringing out the best in chalk-painted surfaces while fostering a charming, rustic ambiance. Whether you’re a seasoned DIY enthusiast or just beginning your journey, embracing the art of dark wax application opens up limitless possibilities for infusing warmth and personality into your home.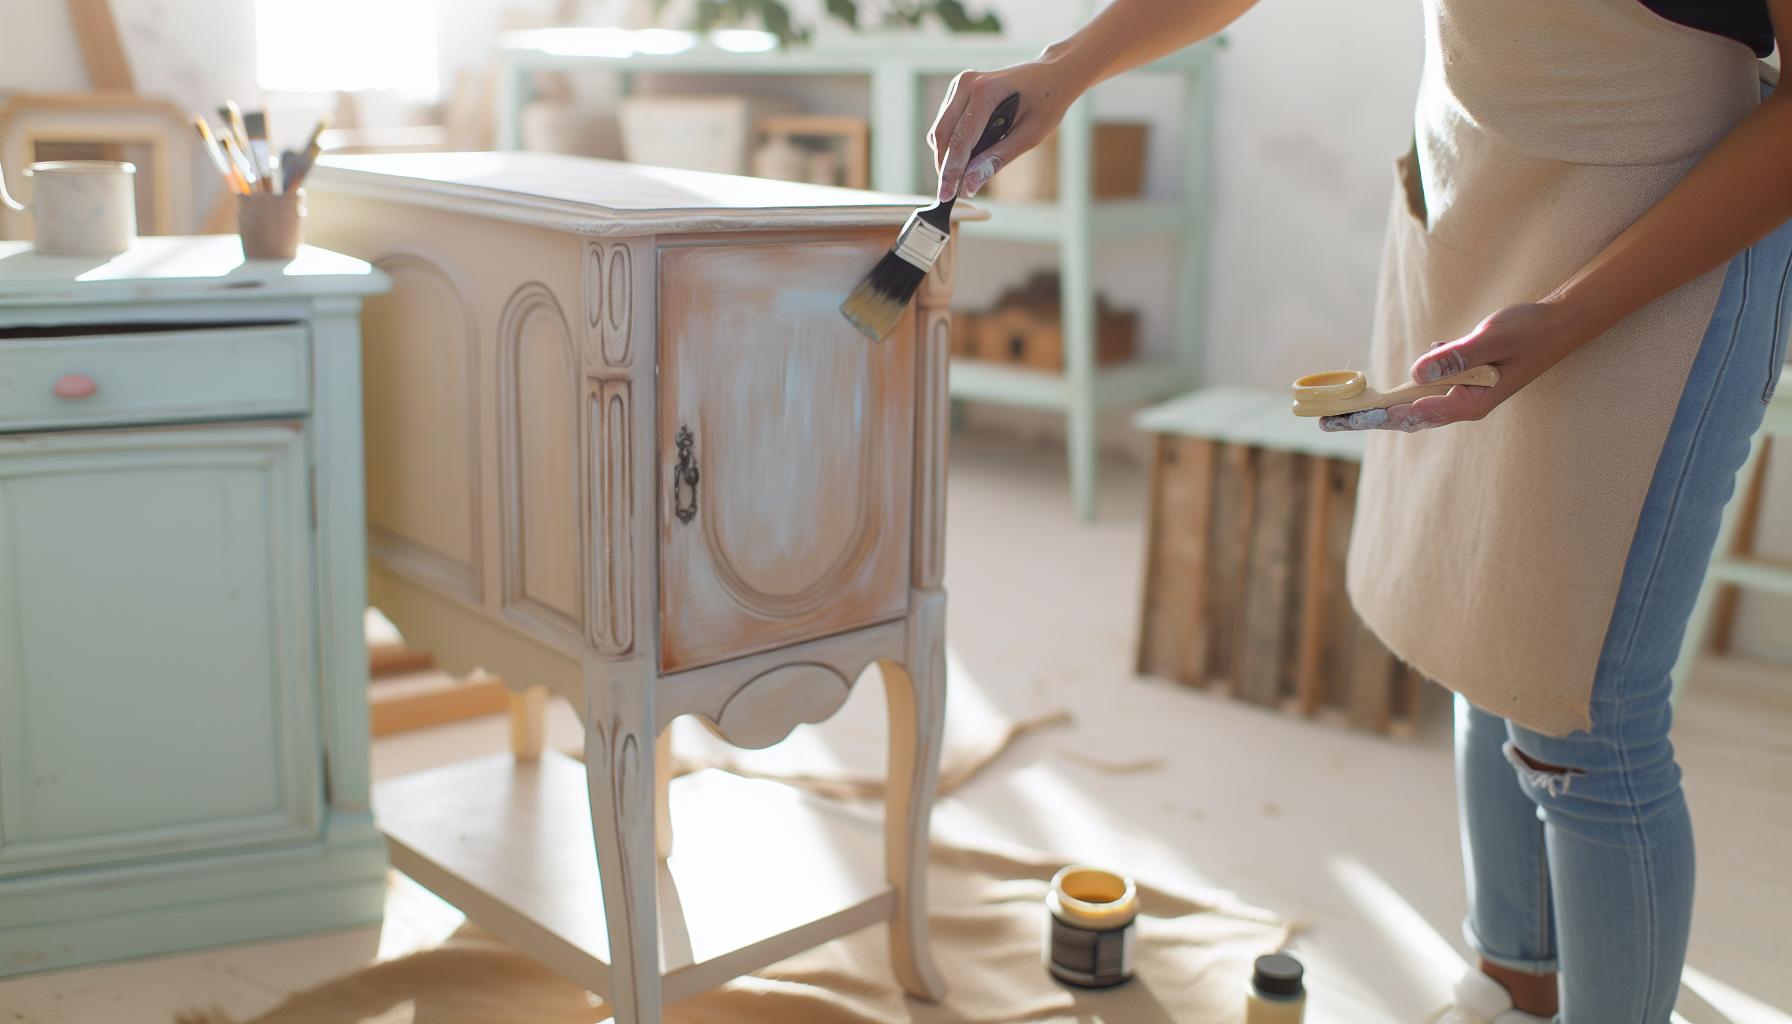
Choosing the Right Dark Wax for Your Project
Choosing the right dark wax can significantly enhance your project, making it an essential consideration for any DIY enthusiast. With a plethora of options available, understanding the qualities of various dark waxes will help you select the perfect one for your chalk-painted furniture, ensuring a result that marries beauty with functionality.
When evaluating dark waxes, consider the finish and formulation. Some waxes have a heavier consistency, which can create a richer, more pronounced effect, while others may be lighter and easier to manipulate. A high-quality, creamy dark wax will glide on smoothly, allowing for better control during application. Look for products that state they are non-toxic and eco-friendly if sustainability is important to you. Always check the label for details on application and drying time, as these factors can influence your overall project timeline.
Additionally, think about the color of your chalk paint. Dark wax holds the power to alter the appearance of your paint, deepening the colors and adding a hint of aged beauty. For warmer tones, a dark wax with earthy undertones-such as a brown or amber hue-will complement the inherent warmth, creating a cohesive and inviting look. In contrast, for cooler shades, opting for a darker grey or black can yield a sophisticated and striking finish. Always keep in mind that less is more; starting with a small amount of wax can help you achieve your desired look without overwhelming the base color.
Finally, doing a small test area on your furniture will provide a clear picture of how the dark wax interacts with your paint choice before fully committing. Each application holds the promise of uniqueness, reflecting your personal style and the warmth of cottage living. So gather your tools and allow the enchanting journey of dark waxing to transform your furniture into a timeless piece that invites conversation and admiration.
Preparing Your Furniture for Dark Wax Application
Preparing your piece of furniture for dark wax application is a crucial step in achieving that desired aged charm that speaks to the heart of cottage living. A well-prepared surface not only enhances adhesion but also allows the wax to settle beautifully, revealing the intricate details of your chalk paint underneath. As you embark on this creative venture, take a moment to reflect on the transformation that lies ahead-restoring your furniture to its former glory while infusing it with rustic elegance.
Begin by ensuring that your chalk-painted furniture is clean and dry. This means gently wiping away any dust, grease, or residues that may have settled on the surface. Use a soft cloth or a damp sponge to delicately clean all areas, especially the nooks and crannies. If your chalk paint finish is particularly rough, spend a little time sanding it lightly with fine-grit sandpaper to create a smooth canvas for the wax. Remember, a smooth surface will not only enhance the aesthetic appeal but will also allow the wax to apply evenly, preventing any unsightly clumps or streaks.
Final Touches and Ensuring a Perfect Base
Once your furniture is clean and your surface is smooth, consider if you want to distress or enhance certain parts of the piece before applying dark wax. Embracing the imperfections of vintage furniture can enhance the charm you’re aiming for! Using a small sanding block or some fine-grit sandpaper, you can gently distress edges or corners where natural wear would occur. This touch adds to the authenticity and depth of the look, making your piece a delightful conversation starter.
Before you commence with the wax application, it’s wise to protect any hardware or areas you do not want to wax with painter’s tape. This thoughtful attention to detail ensures that your project’s final presentation remains clean and polished. Additionally, laying down a drop cloth will protect your surroundings from wax drips. Once you feel confident that your piece is prepped to perfection, grab your chosen dark wax and prepare for the creative process ahead. Your journey to transforming furniture into a centerpiece of rustic elegance is just beginning, an adventure filled with color and texture that will deliver the cozy, inviting atmosphere cherished in cottage homes.
The Step-by-Step Guide to Applying Dark Wax
Applying dark wax to your chalk-painted furniture is a delightful way to enhance its character, lending it that exquisite aged charm so cherished in cottage living. The process transforms your piece into a focal point of rustic beauty, often sparking admiration and conversation among friends and family. To embark on this creative journey, let’s explore how to seamlessly apply dark wax and achieve that desired finish.
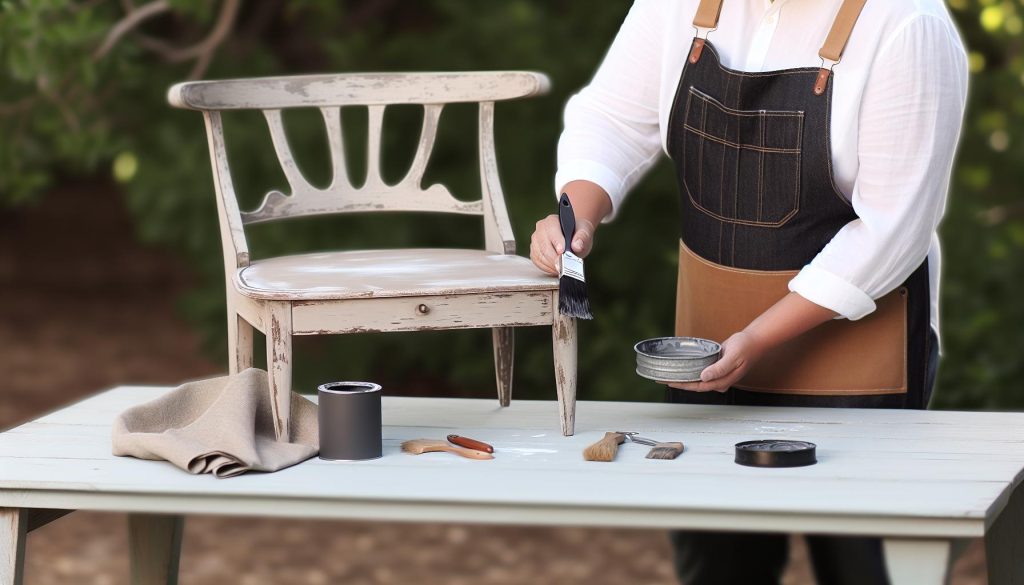
Begin by gathering your materials. You will need your chosen dark wax, a high-quality wax brush or cloth, and a lint-free rag. Having everything at hand makes the process smoother and more enjoyable. Dip your brush or cloth into the dark wax, ensuring it’s not overly saturated-less is often more when it comes to wax application. Start in a small, inconspicuous area to test the wax’s intensity and how it interacts with your chalk paint.
Application Technique
In a gentle, circular motion, begin to apply the dark wax to your furniture. Focus on crevices and detailed areas, as these spots naturally collect more wax, enhancing depth and interest. You may wish to layer the wax, allowing it to dry slightly between applications to build up the richness of the color. Take your time, reveling in the transformation; this is a moment to connect with the piece, embracing its nuances.
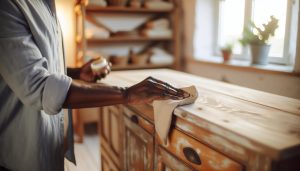
After applying the wax, use your lint-free rag to buff the surface lightly. This process not only smooths out the wax but also brings out the sheen, giving your furniture an elegant finish that beckons to be touched. Keep wiping until you achieve the desired look, ensuring that any excess wax is removed. If you prefer a more matte appearance, less buffing will yield a softer sheen, aligning perfectly with the rustic aesthetics of cottage decor.
Final Touches
Once satisfied, allow your piece to cure for a few days if possible. This resting period lets the wax set properly, ensuring durability and a long-lasting finish. Imagine each piece of furniture evolving over time, accumulating stories and warmth as it complements your cozy home.
As you finish, take a moment to appreciate your handiwork. You’ve not just applied dark wax-you’ve breathed new life into a piece of furniture, creating a beautiful blend of history and style that fits perfectly within your inviting, rustic space.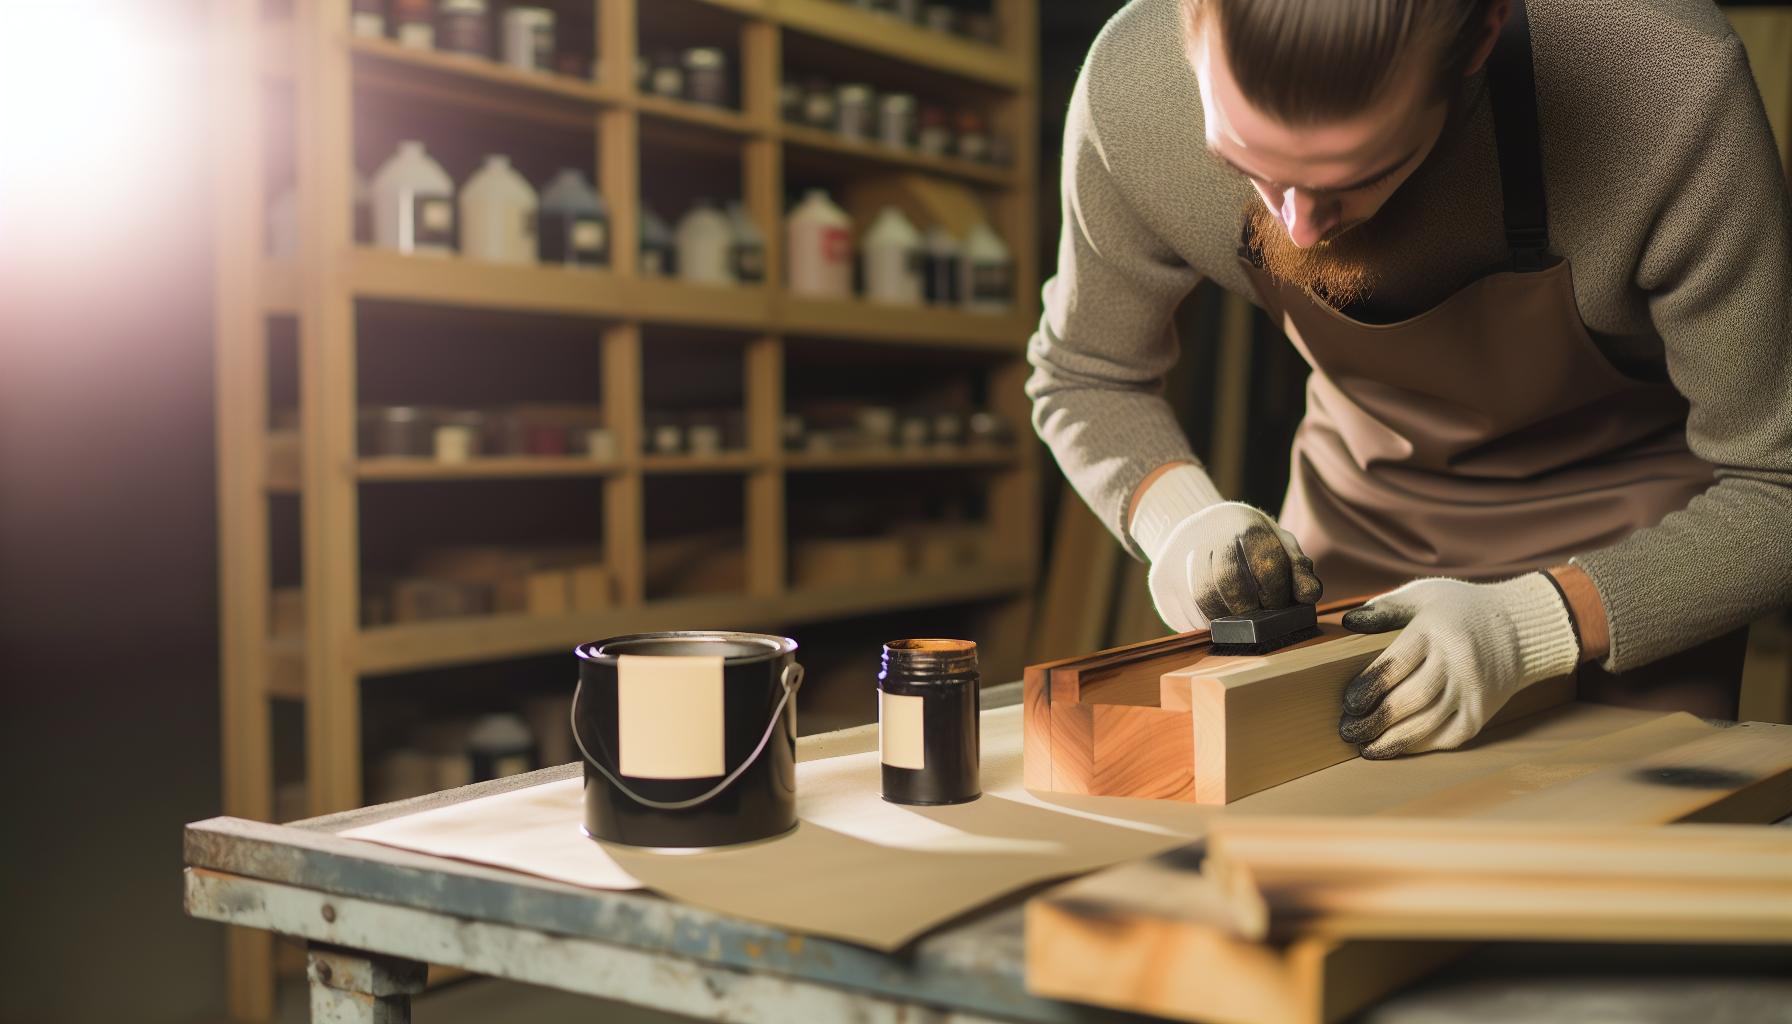
Creating an Aged Finish with Dark Wax Techniques
Creating an aged finish using dark wax can be a truly rewarding experience, transforming your chalk-painted furniture into a statement piece brimming with history and charm. The allure of rustic decor lies in the stories each piece tells, and the layers of dark wax enhance this narrative, giving your furniture that beloved antique look. This process allows you to explore your creativity while bringing warmth to your space, echoing the cozy essence of cottage living.
To achieve a stunning aged finish, start with layering techniques. Instead of applying a thick layer of dark wax all at once, apply it gradually, allowing each layer to dry slightly before adding another. This strategy not only gives you greater control over the final appearance but also enables you to build depth. Focus on applying the wax to intricate details and seams, where age naturally collects dirt and shadows. Use a soft brush to ensure that the wax seeps into the crevices, enhancing the tactile quality of your furniture.
Another effective method for creating texture is the distressing technique. After applying the dark wax, you can use a bit of sandpaper on edges or high points to expose some of the underlying chalk paint beneath. This wear-and-tear effect reinforces the aged look, making it appear as if your furniture has been lovingly passed down through generations. Remember that each piece is unique, so embrace imperfections-they add character and authenticity.
Lastly, don’t forget the power of buffing. Once you’re pleased with your wax application, take the time to buff the surface with a lint-free rag or a soft cloth. This step not only removes excess wax but also reveals a beautiful sheen that enhances the overall beauty of your piece. With a little patience and a touch of creativity, your chalk-painted furniture will radiate that exquisite aged charm, perfectly complementing your inviting, rustic space.
Common Mistakes to Avoid When Using Dark Wax
When using dark wax on chalk-painted furniture, many enthusiastic DIYers find themselves caught in common pitfalls that can diminish their hard work. Understanding these common mistakes not only saves precious time but also enhances the charm of your rustic living space, letting you create pieces that radiate warmth and history.
One frequent oversite is applying too much dark wax at once. This can lead to a heavy, overly dark finish that obscures the natural beauty of your piece. To avoid this, it’s best to start with a small amount of wax on your applicator and gradually build up layers. This approach allows you to control the depth of color and ensures that the wax settles beautifully into the crevices and details of your furniture. Additionally, failing to test the wax on a small, inconspicuous area before full application can leave you regretting hasty decisions-test the waters so to speak!
Another mistake is neglecting to properly prepare the surface before application. Ensure your chalk paint is completely dry and cured-ideally, wait a few days if possible. Applying dark wax on wet or improperly cured paint can result in an uneven finish that is frustrating to fix. Dust and debris can also prevent the wax from adhering well; a quick wipe-down with a damp cloth will create a smoother surface for a seamless application.
Finally, overlook the importance of buffing! After applying and setting your dark wax, take a moment to gently buff the surface with a clean, soft cloth. Buffing not only removes excess wax but also gives the finish a lovely sheen, enhancing the rustic aesthetic you’re striving for. This simple step can turn a good finish into a stunning one, bringing out the character of your newly aged piece.
By steering clear of these common mistakes, you’ll be well on your way to achieving that magical, aged charm in your chalk-painted projects. Embrace the journey, and remember, it’s all about the stories your handcrafted pieces will tell in your cozy, inviting home.
Caring for Dark Waxed Chalk Paint Surfaces
Caring for your dark waxed chalk paint surfaces is vital to maintain their rustic charm and durability. Just like a well-loved book or a cherished family heirloom, your furniture deserves tender care to stay beautiful over time. Dark wax not only adds depth and character to your pieces but also requires intentional maintenance to keep them looking their best.
To ensure your painted furniture remains a delight for years, it’s essential to adopt gentle cleaning practices. Opt for a soft, damp cloth for routine dusting, avoiding abrasive materials that could scratch the surface. When deeper cleaning is necessary, use mild soap diluted in water, then quickly dry with a clean cloth to prevent water damage to the wax. Since dark wax has a natural finish, steer clear of harsh chemicals or commercial cleaners, as these can dull the sheen and disrupt the protective layer you’ve created.
Regular maintenance also involves inspecting your furniture for signs of wear or dullness. If you notice the finish looking lackluster, a simple reapplication of the wax can rejuvenate its vibrancy. Lightly buff the surface with a clean, soft cloth, and then apply a small amount of fresh dark wax using a soft applicator to restore its rich luster. This practice not only enhances the visual appeal but also adds an extra layer of protection.
Ultimately, the key to preserving the aged charm of your dark waxed chalk paint pieces lies in embracing their well-loved character. Consider incorporating seasonal decorations or textiles that resonate with your rustic aesthetic. Over time, the little bumps and scuffs will tell a story, adding to the warmth and history of your home. So, cherish these creations, care for them lovingly, and let their charm shine brightly in your cozy cottage space.
DIY Chalk Paint Recipes for a Perfect Base
Creating your own chalk paint opens up a world of creativity while providing the perfect canvas for showcasing the beauty of dark wax. Making DIY chalk paint not only allows you to customize colors to suit your cozy cottage aesthetic, but it also empowers you to take control of the ingredients, resulting in a more natural and durable finish. Imagine transforming a plain piece of furniture into a cherished heirloom with rich tones and a charming texture that tells a story.
To start your DIY adventure, here are a couple of popular recipes you might find delightful:
Simple DIY Chalk Paint Recipes
- Recipe 1: Calcium Carbonate Chalk Paint
- 1 part latex paint (your chosen color)
- 1 part calcium carbonate powder (easily found online or in craft stores)
- Water to achieve desired consistency
Mix the latex paint and calcium carbonate in a bowl and stir until smooth. Add water gradually until you reach a creamy texture perfect for painting. This recipe not only provides excellent coverage but also ensures a beautiful chalky matte finish.
- Recipe 2: Plaster of Paris Chalk Paint
- 1 cup latex paint
- 1/3 cup plaster of Paris
- Water to adjust consistency
Combine the latex paint and plaster of Paris in a mixing container, whisking until fully blended. Add water until the mixture achieves your desired thickness. This recipe creates a very durable paint that’s ideal for furniture pieces.
These mixtures not only elevate the aesthetic of any surface they adorn but also serve as the perfect groundwork for applying dark wax later. The matte finish of chalk paint allows dark wax to adhere beautifully, enhancing texture and providing that coveted aged charm.
As you embrace these DIY recipes, allow your creativity to flourish. Don’t be afraid to experiment with colors and additives like natural pigments if you wish to achieve customized shades. It’s all about capturing the essence of rustic beauty while celebrating the joys of handcrafted elegance. Transform your space one brush stroke at a time, and relish in the warmth that these unique, hand-painted pieces bring to your home. Whether it’s a beloved antique chair or a reclaimed wood dresser, each project tells a story, infusing your cottage with charm and character.
Exploring Different Waxing Tools and Techniques
When it comes to applying dark wax to your beautiful chalk-painted furniture, the tools and techniques you choose can significantly enhance your results, adding depth and character to each piece. The right tools allow you to explore the nuanced textures and shadows that dark wax can create, transforming your furniture into charming focal points in your cottage home.
To get started, consider investing in a few essential waxing tools that can elevate your process. A high-quality natural bristle brush can provide a smooth and even application, allowing you to control the amount of wax you apply. A soft cloth or rag can be invaluable for buffing the surface and blending the wax into the finish for a more subtle aged look. For more intricate details or tight spaces, a small artist’s brush or even a foam applicator can help you reach those challenging areas without overwhelming your piece with excess wax.
The technique you use during the application is just as important as the tools in hand. Start by dipping your brush into the dark wax and removing excess by wiping it on the rim of the container. Then, apply the wax in thin, even coats, working it into the crevices and details of your furniture. This method ensures that the wax settles nicely into the texture of the paint, creating the depth you’re after. If you desire a more pronounced effect, consider layering the wax. Apply a small coat, allow it to dry, and then apply additional layers until the desired look is achieved. Remember, working in small sections can help maintain control and make blending easier.
Experimentation is encouraged-find what feels right for you! For those seeking to save time, a wax clear coat can be applied first to create a barrier underneath the dark wax, allowing for easier manipulation during application. Whether you’re achieving a weathered look on a coffee table or a sophisticated finish on a sideboard, embracing a variety of tools and techniques will help you discover the perfect aged charm for your space. Finally, have fun with your projects; each piece you create tells a story, adding a layer of warmth and personality to your cozy cottage aesthetic.
Inspiration: Aged-Charm Furniture Makeovers
Embracing the allure of aged charm in your home can be a truly rewarding endeavor, especially when it comes to transforming ordinary furniture into stunning focal points through the art of dark waxing. Imagine an exquisitely tired-looking coffee table that tells a story of rustic picnics and cozy evenings-such an inviting vision can become a reality with the right application of dark wax. This process can not only breathe new life into worn-out pieces but also infuse them with a sense of history and character that enhances the overall atmosphere of your cottage-style home.
One inspiring approach to aged-charm furniture makeovers is to select a piece that holds sentimental value, such as a family heirloom or a vintage find from a flea market. By using chalk paint and dark wax, you can accentuate its details-think ornate legs of a dining table or the delicate carvings of a sideboard. Before diving in, envision the outcome: a surface that feels both fresh and timeless. Prepare by cleaning the piece thoroughly, and apply a base coat of chalk paint in muted, rustic tones, such as soft sage green or dusty blue. Once dry, you can achieve an enchanting aged look by layering on your dark wax strategically.
Utilize the dark wax to emphasize the texture and features of your furniture. With a natural bristle brush, gently apply the wax over raised surfaces and crevices, then wipe away excess with a soft cloth to reveal the hidden contrasts underneath. Consider mixing in some white wax for a more nuanced finish; this can create lighter highlights that mimic years of wear while adding depth. For inspiration, take a look at before-and-after photos of similar projects online or in DIY magazines-seeing the magic unfold can ignite your creativity and confidence.
Additionally, gather inspiration from seasonal themes; for instance, a dark-waxed piece paired with autumnal decor can elevate the warmth of your space, making it inviting for gatherings with loved ones. This connection between aesthetics and meaningful moments fosters a community spirit in cottage living. As you embark on your furniture makeover journey, remember that the imperfections that come with age and the stories behind each mark enhance the charm of your pieces, inviting admiration and conversation. Embrace the joy of crafting something truly unique that reflects both your personal style and the essence of rustic living.
Frequently Asked Questions About Dark Wax Applications
Many DIY enthusiasts often find themselves enchanted by the rich tones and textured finishes that dark wax can impart on chalk-painted furniture. But just like any art form, applying dark wax effectively involves certain techniques and insights to ensure that your creations look stunning and stand the test of time. Below, we address some common questions and provide you with the knowledge you need to master the art of dark waxing.
One frequent concern is, “How do I know when to stop applying dark wax?” The key is to focus on the depth of color you wish to achieve. Start with a light application, and gradually increase the amount, allowing each layer to dry and checking how it enhances your chalk paint. Remember, it’s easier to add more wax than to remove excess, so take it slow.
When it comes to removing excess wax, many wonder about the best tools and techniques. A soft, lint-free cloth works wonders. First, apply wax in small sections, then use your cloth to gently buff and remove the excess. This process not only brings out the sheen in the dark wax but also highlights the details of your furniture. If you accidentally apply too much, don’t panic. You can use a little more wax on your cloth to help lift away the darker areas.
Another common question centers around how to achieve an even, rustic finish. Mixing dark wax with a bit of clear wax can help create a smoother application and make blending easier. If you desire a more distressed look, consider using a sandpaper block after the initial wax application has dried.
Caring for your newly waxed piece is crucial for maintaining its charm. Regular dusting with a feather duster or a soft cloth is recommended, while occasional reapplying of clear wax can rejuvenate the finish. Avoid heavy cleaners or abrasives that might strip the waxed finish; just a simple damp cloth should suffice for regular maintenance.
By understanding these FAQs and their solutions, you’ll not only empower yourself but also find joy in the process of transforming your furniture with dark wax. Each piece you upcycle becomes a unique canvas reflecting your personal style, perfectly embodying the essence of cozy, rustic living. Embrace the journey of bringing aged charm into your home, and celebrate the beauty of handcrafted treasures that tell a story all their own.
Faq
Q: How does dark wax enhance the look of chalk painted furniture?
A: Dark wax deepens the color and adds a rich, aged patina to chalk painted furniture. It highlights details and imperfections, creating a charming, vintage appearance that enhances the overall character of the piece. For effective application tips, refer to the section on “How Dark Wax Enhances Chalk Paint Charm.”
Q: What tools do I need to apply dark wax?
A: Essential tools for applying dark wax include a high-quality brush or cloth, a clean rag for buffing, and protective gloves. Consider using a waxing brush for easier application in intricate areas. Discover more about recommended tools in the “Exploring Different Waxing Tools and Techniques” section.
Q: How long does dark wax take to dry on chalk paint?
A: Dark wax typically dries to the touch within 30 minutes but can take up to 24 hours to cure fully. For best results, avoid using the furniture for at least a day after application. Learn more about care in the “Caring for Dark Waxed Chalk Paint Surfaces” section.
Q: Can I mix dark wax with other products for a unique finish?
A: Yes, you can mix dark wax with other products like paint or clear wax to create a personalized finish. Testing a small area is recommended to achieve your desired look. For detailed blending techniques, refer to the “Creating an Aged Finish with Dark Wax Techniques” section.
Q: How can I remove excess dark wax if I apply too much?
A: To remove excess dark wax, use a clean cloth lightly dampened with mineral spirits or a wax remover. Gently buff the area until the desired effect is achieved. For tips on common mistakes and corrections, see the “Common Mistakes to Avoid When Using Dark Wax” section.
Q: Is it necessary to seal chalk paint before applying dark wax?
A: It is not strictly necessary, but sealing with a clear wax can provide a smoother application and enhance durability. Sealing first helps in achieving more control over the final appearance. Read more about preparation in the “Preparing Your Furniture for Dark Wax Application” section.
Q: Can I apply dark wax on furniture that has been previously finished?
A: Yes, you can apply dark wax on previously finished furniture, but it’s essential to clean the surface thoroughly and lightly sand it to ensure better adhesion. For preparation details, check the “Preparing Your Furniture for Dark Wax Application” section.
Q: How do I maintain dark waxed surfaces to ensure their longevity?
A: Maintain dark waxed surfaces by dusting regularly and occasionally applying a thin layer of clear wax. Avoid harsh cleaners as they can degrade the wax finish. For more on caring for your waxed furniture, see the “Caring for Dark Waxed Chalk Paint Surfaces” section.
Concluding Remarks
You’ve now mastered the art of applying dark wax to chalk painted furniture, adding a touch of aged charm to your home. Remember, it’s not just about the technique; it’s about creating a cozy atmosphere that reflects your unique style. If you’re ready to embark on more DIY adventures, explore our guides on rustic home design and seasonal gardening to further enhance your living space.
Don’t forget to share your projects in the comments-your creativity could inspire others in the community! And for more tips, tricks, and exclusive content, subscribe to our newsletter. Let’s continue to celebrate the joys of handcrafted beauty together, making every corner of your home a sanctuary of comfort and charm. Happy crafting!