Imagine stepping into a charming cottage, where every piece of furniture tells a story of love and care. Achieving that perfect, rustic finish on your furniture can seem elusive, but with Minwax Furniture Wax, the dream of a cozy, inviting home is within reach. This guide will walk you through the simple yet rewarding process of applying Minwax Furniture Wax, ensuring your pieces not only look beautiful but also feel cherished. Whether you’re reviving an antique heirloom or giving new life to a modern find, this approachable method will empower you to enhance the warmth of your living space. Ready to transform your home and embrace the rustic elegance of cottage living? Let’s dive into the timeless art of furniture waxing!
Choosing the Right Minwax Furniture Wax for Your Project

can transform your home, lending it a welcoming charm reminiscent of a cozy cottage. With options tailored to various needs, understanding the distinct features of each product is essential. Minwax offers both clear wax and tinted wax, giving you the flexibility to enhance the natural beauty of your wood or introduce a splash of color that harmonizes with your decor. The clear wax allows the wood grain to shine through, making it perfect for showcasing the intricate details of reclaimed wood furniture, while tinted waxes can add an aged patina effect, ideal for rustic themes.
To make an informed choice, consider the type of finish your furniture already has. For instance, the best results occur when applying wax over finishes like oil-based stains or polyurethanes. If you’re working with a previously finished item, ensure the wax bonds appropriately by testing a small area first. Additionally, consider the amount of foot traffic your furniture will encounter; high-traffic items may benefit from a more durable wax formula for added protection. Remember that application techniques also play a role in the final look, so select a wax that suits your confidence level-some are easier to work with, allowing for a smoother application, while others may require a bit more finesse.
When it comes to texture, think about the atmosphere you want to create. A matte wax can evoke a relaxed and inviting feel, whereas a glossy finish can elevate the aesthetic, adding sophistication. Ultimately, selecting the right Minwax furniture wax is about aligning the product with your vision for coziness and charm in your space. Embrace the process, letting the transformation inspire your creativity and connection to the rustic beauty around you.
Preparing Your Furniture for Wax Application
Before diving into the delightful process of applying Minwax furniture wax, it’s essential to set the stage properly. Preparing your furniture serves as a critical foundation to ensure the wax enhances the natural beauty of the wood, giving your pieces that warm, rustic charm synonymous with cottage living. A well-prepared surface not only helps the wax adhere better but also ensures a smoother finish and longer-lasting protection.
Start by thoroughly cleaning the furniture piece. Dust, dirt, and old residues can form barriers that prevent the wax from adhering correctly. Use a soft, lint-free cloth to wipe off any surface dust. If your furniture has accumulated grime, consider a gentle cleaner like a diluted mixture of mild soap and water. For varnished or lacquered surfaces, a small amount of mineral spirits can help remove stubborn residues. Always make sure to read the manufacturer’s instructions on compatibility to avoid damaging the surface.
Next, inspect the wood for any imperfections that should be addressed prior to waxing. This might include scratches, dents, or uneven areas. If you notice any flaws, sand the surface lightly with fine-grit sandpaper (220 grit works well) and wipe away the dust with a clean cloth. Remember, the goal is to create a smooth, even surface that maximizes the beauty of the wood and allows the wax to shine through. If your piece has already been stained or finished, it’s best to test a small, inconspicuous area to see how the wax reacts with the existing surface.
Finally, allow your furniture to dry completely before applying the wax. Any moisture left on the surface can prevent the wax from adhering properly, leading to unevenness and potential issues down the line. As you embark on this charming journey of transforming your furniture through waxing, take a moment to appreciate the craftsmanship and character inherent in your pieces. Prepare patiently, and soon you’ll be ready to bring a timeless, cozy appeal to your home!
Step-by-Step Guide to Applying Minwax Furniture Wax
To achieve that charming, inviting look characteristic of cottage-style furnishings, the application of Minwax furniture wax is a delightful and straightforward process. Follow these step-by-step guidelines to enhance the natural beauty of your wood pieces and ensure a smooth, lasting finish that will make your home feel warm and welcoming.
Start by gathering the necessary tools and materials. You will need Minwax furniture wax, a lint-free cloth, and some fine-grit sandpaper. A small soft brush or an applicator sponge can also be helpful for achieving an even application. Make sure to work in a well-ventilated area, preferably with natural light, to see how the wax enhances the wood grain.
Begin the application by scooping a small amount of Minwax furniture wax onto your cloth or applicator, just enough to cover a small section of the wood surface. It’s best to work in manageable sections to avoid the wax drying before you have a chance to buff it out. Using circular motions, apply the wax generously, ensuring it penetrates the wood and fills in any minor imperfections. As you work, you will likely notice the wood becoming enriched and glowing-this is a wonderful sign that the wax is doing its job.
Once you have applied the wax to one section, allow it to sit for about 10 to 15 minutes. This waiting period allows the wax to bond with the surface, enhancing the protection and look. After it has set, take a clean, dry cloth and buff the waxed area vigorously. Buffing not only creates a beautiful sheen but also helps to eliminate any excess wax, preventing a sticky residue. You can repeat the application process across the entire furniture piece, working section by section until the entire surface is treated.
For those yearning to achieve that coveted rustic cottage finish, consider layering the wax. After the first application has dried and been buffed, allow another coat to cure for a more pronounced sheen and durability. With each layer, take a moment to admire your handiwork-the wax not only protects your furniture but elevates it into a centerpiece of your cozy living space. Embrace the process, and soon you will have lovely waxed furniture that reflects both your personality and the spirit of cottage living!
Creating a Rustic Cottage Finish with Furniture Wax

Creating a rustic cottage finish is a delightful way to bring warmth and charm to your home, transforming ordinary wooden furniture into captivating focal points that evoke the cozy essence of cottage living. This finish can be achieved through the careful application of Minwax furniture wax, which not only protects the wood but also enhances its natural beauty. The secret lies in layering the wax and applying it with the right techniques to create that coveted aged patina, perfect for any rustic setting.
Begin your journey to a rustic finish by sanding your furniture lightly with fine-grit sandpaper. This step ensures that the wood is smooth and allows the wax to adhere better, enhancing the overall appearance. Once completed, clean the surface to remove dust and debris. As you prepare to apply the wax, remember that it’s best to work in small sections, applying the wax with a lint-free cloth or applicator sponge using gentle, circular motions. This method not only fills in minor imperfections but also allows you to witness the wood grain being enriched with each stroke.
To achieve depth and character, consider applying multiple layers of wax. After applying the first coat, allow it to cure for about 15 to 30 minutes-this waiting period is crucial for allowing the wax to bond beautifully to the surface. Once cured, buff the area with a clean, soft cloth to bring out a lovely sheen. For added richness, repeat this process; with each layer, the finish becomes more sophisticated, inviting and protective, showcasing subtle nuances in the wood’s texture and tone.
Incorporating a rustic cottage finish into your home decor doesn’t just elevate the aesthetics; it tells a story of craftsmanship and love for the handmade. When paired with natural elements like woven baskets, vintage textiles, and greenery, your waxed furniture becomes a centerpiece of coziness and community. Embrace the simplicity of this process and celebrate the transformation-it’s a joyful journey that connects you to the heart of cottage living, where every piece of furniture contributes to the soul of your home.
Techniques for Achieving a Perfectly Smooth Application
To achieve a beautifully smooth application of Minwax furniture wax, it’s important to embrace the process as a delightful part of your DIY journey. Start by ensuring that your wooden surface is clean and free from dust. A well-prepared surface serves as the canvas upon which your wax will shine. Dust particles can lead to a gritty texture, so using a microfiber cloth after sanding is always a good practice. With the right preparation, you’re setting the stage for that soft, inviting finish that embodies the rustic charm of cottage living.
When it’s time to apply the wax, use a lint-free cloth or an applicator sponge. Applying the wax in small, manageable sections allows for greater control and a more uniform look. Use gentle, circular motions as you work the wax into the wood; this technique not only fills in imperfections but encourages the wax to interact beautifully with the grain of the wood, enhancing its inherent patterns. Keep a steady hand to avoid streaks and ensure that each layer has the chance to bond seamlessly with the surface.
After the initial coat has been applied, patience is key. Allow the wax to cure for about 15 to 30 minutes. This critical waiting time enables the wax to bond effectively to the wood, resulting in a more durable finish. When the time is right, return with a clean, soft cloth to buff the surface. This step not only enhances the sheen but also reveals the depth and dimension of your chosen wood, celebrating its natural beauty. Remember, layering is essential-a second or even third coat can amplify the richness of the finish, creating a spectacularly smooth texture that feels luxurious to touch.
In your quest for a flawless wax finish, never underestimate the joy of experimentation. Each piece of furniture is unique, and finding the right application technique may involve a little trial and error. Embrace the imperfections and celebrate the journey; after all, the true essence of cottage living lies in handcrafted beauty and the memories created along the way. Together, these techniques capture the spirit of cozy charm, inviting warmth into your home, one lovingly waxed piece at a time.
How to Avoid Common Wax Application Mistakes
Applying wax to your furniture is not just a task-it’s a delightful journey towards enhancing your home’s charm. However, many DIYers encounter common pitfalls that can hinder the beautiful finish they desire. One frequent mistake is rushing the preparation phase. Remember, rushing can lead to a finish that is less than stellar. Before applying Minwax furniture wax, take the time to ensure that the surface is clean, dry, and free of dust. A smooth, prepared surface is essential for achieving that coveted silky finish, as any imperfections will be magnified under the wax.
Another common challenge is applying too much wax at once. It’s tempting to slather on a generous layer, but this can lead to a sticky or uneven result. Instead, opt for a more cautious approach-apply the wax in thin, manageable layers. Use a lint-free cloth or an applicator sponge and work the wax into the wood in gentle, circular motions. This technique allows the wax to penetrate the wood more effectively, enhancing the grain while avoiding the creation of unsightly streaks or clumps.
Patience is another key ally in your waxing adventure. Many enthusiasts mistakenly buff the wax too soon after application, which can spoil the finish. Allowing the wax to cure for about 15 to 30 minutes not only strengthens the bond but also contributes to a richer, more sophisticated sheen. Once the waiting period has lapsed, return with a clean cloth to buff the surface to your desired shine. Embrace this moment; the anticipation will only enhance your appreciation of the beautiful result.
Lastly, an essential tip for maintaining the integrity of your hard work is to avoid extreme temperature and humidity conditions during application and curing. These factors can affect the wax’s ability to set properly. Ideally, work in a well-ventilated, comfortable room where your piece has the best chance of achieving that rustic charm you’re aiming for.
By staying mindful of these common mistakes and adjusting your approach, you’ll not only enhance the durability and beauty of your waxed furniture but also encourage a deeper connection to your DIY journey-celebrating the simple joys of rustic living and the warmth it brings to your home.
Maintaining and Caring for Waxed Furniture
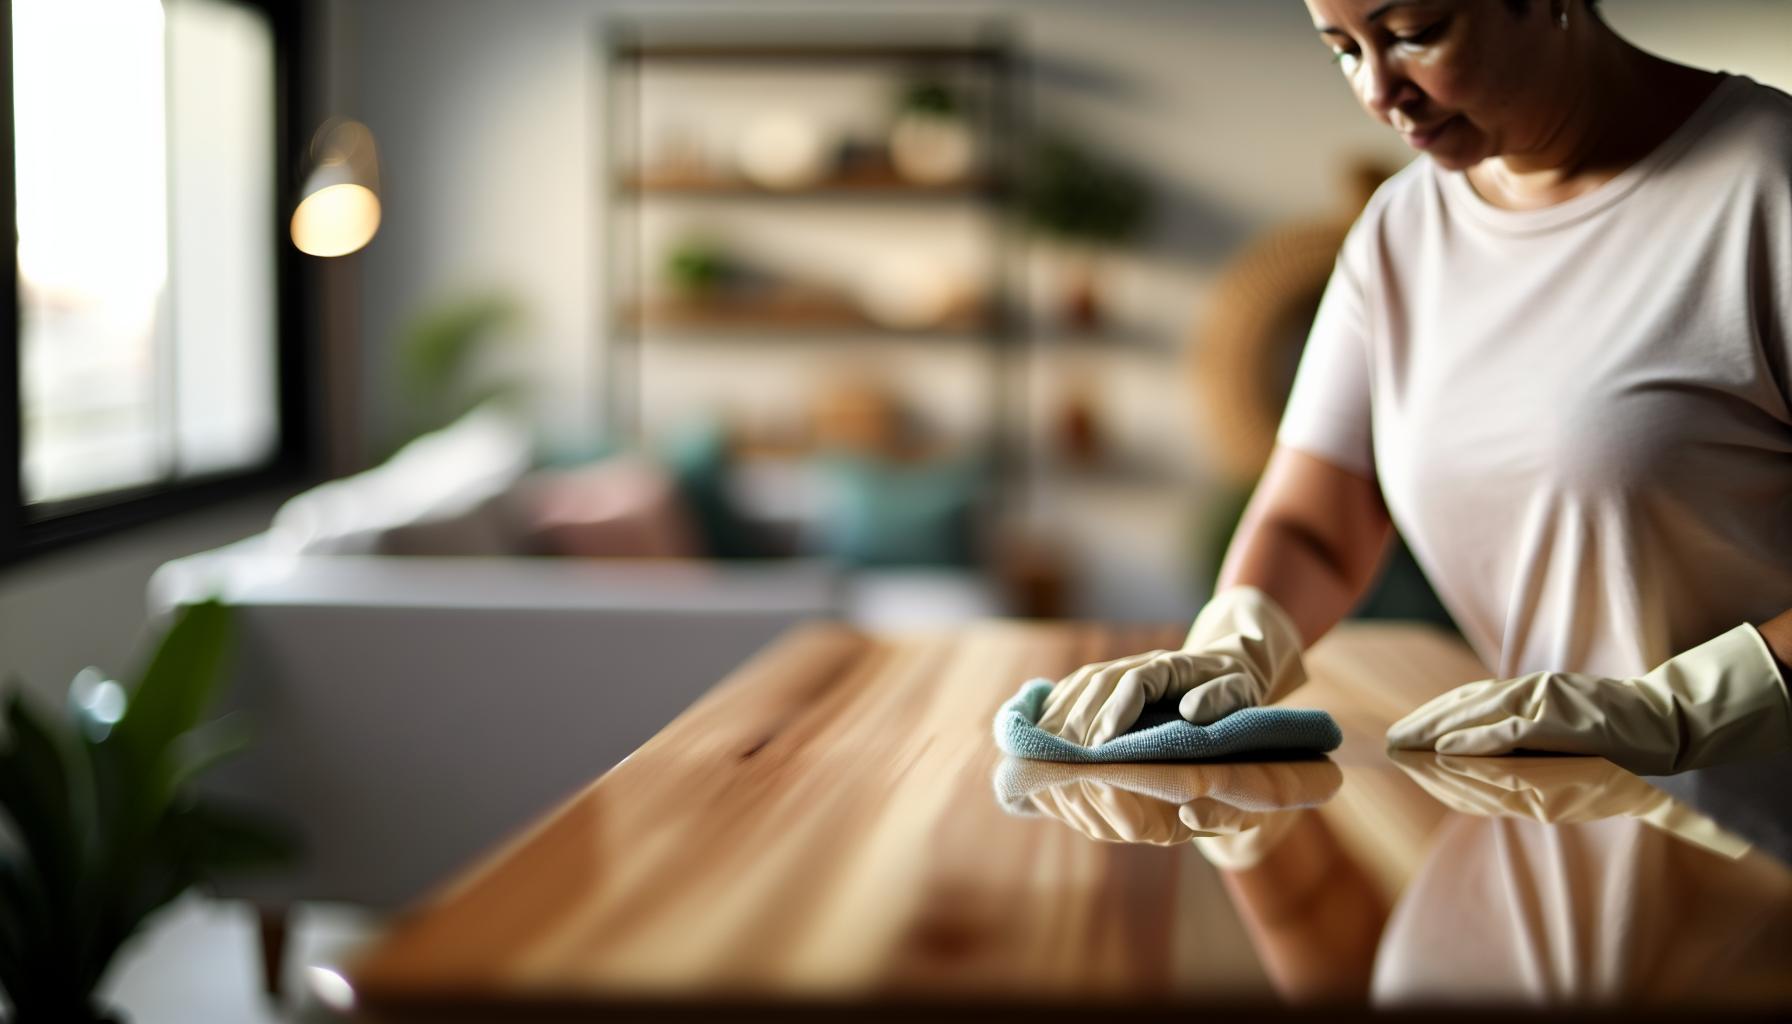
Caring for waxed furniture is akin to nurturing a cherished companion-it flourishes with a little love and attention. To maintain the lustrous beauty of your Minwax-waxed pieces, it’s essential to establish a routine that protects and enhances their natural charm. Regular care not only keeps your furniture looking pristine but also extends its lifespan, allowing you to savor the rustic elegance it brings to your home.
Begin with a gentle cleaning regimen. When dust and dirt begin to gather, use a soft, lint-free cloth to wipe down your furniture. Avoid harsh chemicals or abrasive substances, as these can compromise the wax finish. Instead, a mild soap solution or simply a damp cloth works wonders for daily cleaning. Remember to dry the surface immediately to prevent moisture from damaging the wax layer.
To rejuvenate the sheen of your waxed surfaces, consider reapplying a thin layer of Minwax Furniture Wax every six months or so. This not only revitalizes the shine but also reinforces the protective barrier against scratches and spills. When you’re ready to apply, lightly buff the piece with a cloth first to ensure it’s free of dust and grime. Then, using circular motions, apply the wax thinly and allow it to cure before buffing it to your desired gloss level.
- Prompt Attention to Spills: Wipe away spills immediately with a damp cloth. Allowing moisture to sit can warp the wood and diminish the wax layer’s effectiveness.
- Temperature & Humidity Awareness: Try to keep your waxed furniture in a stable environment away from direct sunlight and extreme heat, which can cause the wax to melt or discolor.
- Use of Coasters & Protective Liners: Encourage the use of coasters, placemats, or trays for drinks and edible items. This simple practice prevents unsightly rings and stains, preserving your furniture’s elegance.
Ultimately, the beauty of your waxed furniture lies not just in its finish but in the stories it helps create in your space. Each care routine adds to the character of your home, blending rustic charm with function. By embracing these nurturing habits, you cultivate not only a beautifully maintained aesthetic but also deepen the connection to your cozy cottage lifestyle, celebrating craftsmanship and warmth in every corner.
Enhancing Your Cottage Aesthetic with Wax Finishes
When it comes to embracing the charming allure of cottage living, the right wax finish can transform your furniture into a stunning centerpiece that radiates warmth and character. Minwax Furniture Wax is more than just a protective layer; it enhances the natural beauty of wood, allowing the unique grain patterns and colors to shine. The subtle sheen provided by the wax creates an inviting ambiance that resonates with the rustic charm of cottage design, making your space feel cozy and lived-in.
To truly elevate your cottage aesthetic, consider incorporating a layered approach to decor. Use Minwax Furniture Wax on upholstery, decorative wood bowls, or handcrafted shelves to create a cohesive look that harmonizes with your various design elements. A piece of vintage furniture, lovingly finished with wax, can serve as a perfect backdrop for seasonal decor-display fresh flowers in a rustic vase during spring or arrange lovingly potted herbs on a sunlit windowsill in summer. This simple act of waxing not only protects your pieces but also enhances their capability to tell stories as they age gracefully.
When selecting complementary elements for your spaces, remember the importance of maintaining a harmony between colors and textures. Utilize natural materials like jute rugs or linen cushions to further emphasize your waxed furniture’s rustic feel. Deep hues like forest green or soft blues can evoke the serenity of nature, while vibrant accents, such as a cheerful yellow or soft blush, can add delightful pops of color that bring energy to the room.
- Mix and Match: Embrace different finishes while ensuring they complement your waxed pieces; for instance, pair a distressed wood table with a smoothly waxed sideboard.
- Artisanal Touch: Incorporate handmade or vintage items that align with your aesthetic, allowing for an eclectic yet cohesive feel.
- Seasonal Decor: Adapt your decorative elements to reflect the changing seasons, drawing inspiration from nature’s palette to maintain the rustic vibe.
The key to achieving an enchanting cottage aesthetic lies in the details. By applying Minwax Furniture Wax thoughtfully and creatively, you can enhance not just the look but also the enduring spirit of your home. As you breathe new life into your furnishings, allow yourself to enjoy the simple pleasures of cottage living-transforming your space into a welcoming haven filled with memories, beauty, and warmth.
DIY Furniture Projects to Showcase Your Waxing Skills
There’s something undeniably satisfying about turning a simple piece of wood into a cherished item through your own hands, and using Minwax Furniture Wax can be a delightful way to highlight your craftsmanship. Whether it’s an old chair in need of revival or a freshly built coffee table, DIY projects can serve as perfect opportunities to experiment with waxing techniques, celebrating craftsmanship with every brushstroke.
Start with a small side table that has seen better days. With some light sanding and a clean-up, you can prepare it for its transformation. After selecting your Minwax Furniture Wax, apply it with a soft cloth or brush, ensuring you cover all edges and corners. The wax will enhance the natural grain, leaving a beautiful, protective sheen perfect for a cozy living room setting. To really showcase your results, consider pairing your newly waxed table with handmade coasters or a set of charmingly mismatched vintage dishes.
For those looking to take on a more ambitious project, consider crafting a rustic wood bench. This versatile piece not only serves as extra seating but also doubles as a display for your potted plants or seasonal decor. After constructing your bench from reclaimed wood, give it a thorough sanding to smooth out any rough spots, and don’t forget to wipe it down with a damp cloth. Apply the Minwax Furniture Wax generously, allowing it to soak in, and then buff it out for that coveted luster. This handcrafted bench will not only be functional but also a focal point of rustic beauty in your cottage home.
Lastly, don’t overlook the charm of smaller decor items. Picture a simple wooden tray or a set of picture frames that can be easily updated with a touch of wax. After applying Minwax, these pieces become not just functional but artistic expressions of your personality. Arrange them around your home to create a warm and inviting atmosphere. Each project is a step towards establishing a cozy cottage aesthetic that truly feels like home.
Embracing DIY furniture projects not only allows you to showcase your wax application skills but also invites a sense of accomplishment and creativity into your home. So gather your materials, roll up your sleeves, and let your imagination take flight; the results will surely enhance your cottage charm while telling your unique story through each piece you create.
Troubleshooting Wax Finish Issues and Solutions
When embarking on your journey to achieve the perfect wax finish with Minwax Furniture Wax, you may encounter a few common issues that can daunting, but fret not; with a bit of guidance, these can easily be addressed. Perhaps you’ve noticed uneven patches in your finish or a cloudy appearance that detracts from that cozy aesthetic you desire. Understanding these challenges is the first step to a successful, charming result that enhances the rustic beauty of your home.
One frequent concern is wax build-up, which can lead to a sticky or tacky feel. This often occurs when too much wax is applied or when it hasn’t been buffed adequately. To remedy this, gently wipe the surface with a soft cloth lightly dampened with mineral spirits. This will help to dissolve excess wax and restore that smooth surface. Afterward, let it dry, and apply a fresh, thin layer of wax, ensuring to buff well with a clean cloth to achieve a lovely sheen.
Another issue might be spotting-those unsightly dark marks caused by moisture or scratches. These can be disheartening, especially on beloved furniture pieces. To address this, try creating a paste of baking soda and water to gently rub over the affected area. Once it’s clean, reapply Minwax, allowing it to blend seamlessly with the surrounding surface, thus allowing your piece to shine once more.
Common Problems and Solutions
- Uneven Wax Application: Ensure to apply wax in thin, even coats. Buff thoroughly after each application.
- Cloudy Finish: Use mineral spirits on a soft cloth to clean the surface, then reapply wax.
- Sticky Texture: Buff out excess wax or use a damp cloth to remove build-up.
- Water Spots: Rub with baking soda paste, clean, and reapply wax.
By taking these small but crucial steps, you can transform potential pitfalls into opportunities for creating a truly remarkable finish. Remember, each piece you work on tells a story-a testament to your meticulous care and craft. Embrace the charm of wabi-sabi in your cottage living space, where imperfections add to the beauty and character of your cherished furniture. Don’t shy away from experimentation; with Minwax, you have the tools to let your creative spirit flourish and your home resonate with warmth and personality.
Tips for Pairing Wax with Other Finishes
Pairing wax with other finishes can create a beautiful and harmonious look that enhances the charm of your rustic home. Imagine the softness of Minwax Furniture Wax complementing a rich stain or a protective layer of polyurethane-each layer adding depth and character to your cherished pieces. Whether you’re restoring an antique or finishing up a DIY project, knowing how to harmonize different finishes will elevate your craftsmanship and ensure your furniture reflects the cozy, welcoming vibe of cottage living.
To achieve a successful combination, start by choosing complementary finishes. For instance, if you’ve applied a deep stain, allow it to cure fully before layering with Minwax Furniture Wax. This will not only protect the stain but will enhance its color and bring out the wood’s natural grain. When layering wax over a topcoat like polyurethane, make sure the poly is completely dry and cured, as wax can leave a residue on uncured surfaces. A light buffing can also help create a better bond between the finishes and achieve that signature sheen.
Experimentation is key when blending finishes. Begin with a small, inconspicuous area to test how the wax interacts with the base coat. Remember that applying wax over an oil-based stain will yield different results than when applied over a water-based finish. You might find that using a tinted wax can add a unique touch, subtly enriching the surface without overwhelming the existing coloration. Here’s a brief checklist to guide your process:
- Choose Compatible Finishes: Ensure the base finish is fully cured before applying wax.
- Experiment with Tints: Use tinted wax to add dimension.
- Test First: Always test in a small area for desired effects.
- Apply Thin Layers: Build up layers gradually for more control over the final look.
By embracing these tips and the inherent beauty of each finish, you’ll create pieces that resonate with warmth, character, and a touch of handmade charm. Your rustic decor will not only reflect your personality but also echo the timeless appeal of cottage living, making your home a sanctuary filled with creativity and loving memories.
FAQ
Q: What is the best way to remove Minwax furniture wax before reapplying?
A: To remove Minwax furniture wax, use a clean cloth soaked in mineral spirits or a dedicated wax remover. Rub in a circular motion until the surface is clean. Always test in an inconspicuous area first to ensure compatibility with your finish.
Q: How long does Minwax furniture wax take to dry before using the furniture?
A: Minwax furniture wax typically dries to the touch in about 30 minutes. For best results, allow it to cure for at least 24 hours before using the furniture to ensure full hardness and protection.
Q: Can I apply Minwax furniture wax over other finishes?
A: Yes, you can apply Minwax furniture wax over other finishes like varnish or polyurethane as long as the surface is clean and properly prepared. Ensure that the underlying finish is fully cured before applying the wax for optimal adhesion.
Q: What tools do I need for applying Minwax furniture wax?
A: To apply Minwax furniture wax, you’ll need a clean, lint-free cloth or a wax applicator pad. For finishing touches, a soft buffing cloth is helpful. Make sure your tools are free from dust to achieve a smooth application.
Q: Is it necessary to buff Minwax furniture wax after application?
A: Yes, buffing Minwax furniture wax after application is crucial. It enhances the shine and smoothness of the finish. Use a soft cloth to buff in circular motions, ensuring even coverage and a beautiful luster.
Q: Why is my Minwax furniture wax not shining as expected?
A: If your Minwax furniture wax isn’t shining, it may be a result of insufficient buffing or applying too much wax. Make sure to buff thoroughly after application and avoid applying excess product to achieve a better shine.
Q: How often should I reapply Minwax furniture wax to maintain the finish?
A: It’s best to reapply Minwax furniture wax every 6 to 12 months, depending on usage and wear. Regular maintenance can help protect the wood and keep the finish looking fresh and vibrant.
Q: Can I mix colors of Minwax furniture wax for a custom finish?
A: Yes, you can mix different colors of Minwax furniture wax to create a custom finish. Test your mixture on a small area first to ensure the desired color is achieved before applying it to the entire piece.
Closing Remarks
Thank you for joining us on this journey to apply Minwax Furniture Wax for that perfect cottage finish! Now that you’ve learned how to enhance your rustic pieces, don’t hesitate to dive into related projects like our guide on DIY decor for your cozy home or explore seasonal gardening tips that bring charm to your outdoor space. Your next steps? Grab your supplies and start transforming your furniture today-your cozy sanctuary awaits!
Join our community by signing up for our newsletter to receive exclusive tips and inspiration straight to your inbox. Have questions or want to share your own rustic projects? We love hearing from you, so drop a comment below! Remember, your cottage dream life is all about embodying simple joys and handcrafted beauty. Embrace it fully as you create spaces that tell your unique story. Happy crafting!