
In the warm embrace of cottage living, furniture is more than just functional; it’s a canvas for our stories and memories. Applying wax to wood not only preserves its beauty but also enhances its natural grain and rich character. Yet, many find themselves unsure about the process, fearing a misstep could mar their beloved pieces. Fear not! This guide will walk you through the art of waxing furniture, transforming routine maintenance into a creative, rewarding ritual. As you learn to approach your wooden treasures with care, you’ll discover that this simple act can breathe new life into your home, promoting a cozy atmosphere that celebrates handcrafted beauty and rustic charm. Grab your supplies and join us on this journey to master the essential skill of wood care, ensuring your furniture radiates warmth for years to come.
Choosing the Right Wax for Your Furniture Care
can transform an ordinary piece into a stunning focal point of your home, celebrating the natural beauty of the wood while providing a protective barrier against wear and tear. Among the multitude of options available, it’s essential to focus on a few key factors: the type of wood you have, your desired finish, and any specific functional needs. Some waxes are designed for high-gloss finishes, while others offer a matte look that enhances the rustic charm of cottage-style interiors.
When selecting wax, consider the different formulations available, such as beeswax, carnauba wax, or a blend of both. Beeswax is popular for its creamy texture and ease of application, providing a warm, natural luster without a glossy sheen, perfect for creating that cozy, lived-in feel. Carnauba wax, on the other hand, is often considered a superior option for durability and shine, making it ideal for high-traffic areas or furniture that might see more frequent use. Additionally, some products contain oils, which can nourish the wood while adding a soft sheen, but be cautious as these may require more maintenance over time.
Before purchasing, it’s wise to test a small area to ensure compatibility with your furniture’s finish. Wax can enhance the colors and grain of the wood, but if applied on surfaces with existing finishes, it might react unpredictably. Therefore, taking the time to pick the right wax not only protects but also prolongs the beauty of your beloved furniture pieces. Whether you choose a ready-made wax or decide to blend your own, the right choice elevates your furniture care routine, allowing you to create an inviting and warm atmosphere in your home.
In embracing this craft of furniture care, you’re also nurturing a connection to tradition and sustainability, celebrating the handcrafted beauty found in rustic homes. By choosing thoughtfully, you’re not just maintaining furniture; you’re cultivating a space that reflects your unique style and the comforting embrace of cottage living.
Essential Tools for Wax Application
When it comes to waxing furniture, having the right tools can make all the difference between a flawlessly polished finish and a frustrating experience. The warmth of cottage living is often reflected in the care we give our cherished pieces of furniture, and equipping yourself with essential tools will ensure that this loving touch results in a beautiful outcome.
To start your waxing journey, consider gathering the following items:
- Soft, Lint-Free Cloths: These are perfect for applying wax and buffing it to a shine. Look for cotton or microfiber cloths that won’t leave behind any fibers or scratches on your wood.
- Applicator Pads: These pads are great for spreading wax evenly across the surface. They should be soft and flexible to conform to the contours of your furniture.
- Natural Bristle Brush: Ideal for reaching intricate details or carved areas, a natural bristle brush can help you apply wax precisely where it’s needed without oversaturating the wood.
- Paint Stir Stick or Spatula: Use these to scoop and mix your wax, especially if you’re using a soft wax that tends to settle.
- Fine Steel Wool or Sandpaper (optional): If you’re working on an older piece that needs a little extra love, having some fine steel wool on hand can help smooth out the surface before application.
- Dust Mask: While waxing is generally safe, a dust mask can be a comforting choice when sanding or polishing, especially if you’re sensitive to dust.
Embracing these tools will not only enhance the effectiveness of your waxing process, but it also fosters the charm of a rustic lifestyle where every detail is handled with care and creativity. Think of each piece of furniture as a canvas awaiting your touch-just as you might choose soft linens or handmade decor for your home, the tools you use for waxing can elevate the experience, transforming a simple chore into a delightful ritual. So, gather these essentials with an open heart, and prepare to infuse your space with renewed life and a touch of that beloved cottage warmth.
Preparing Your Wood Surface for Wax
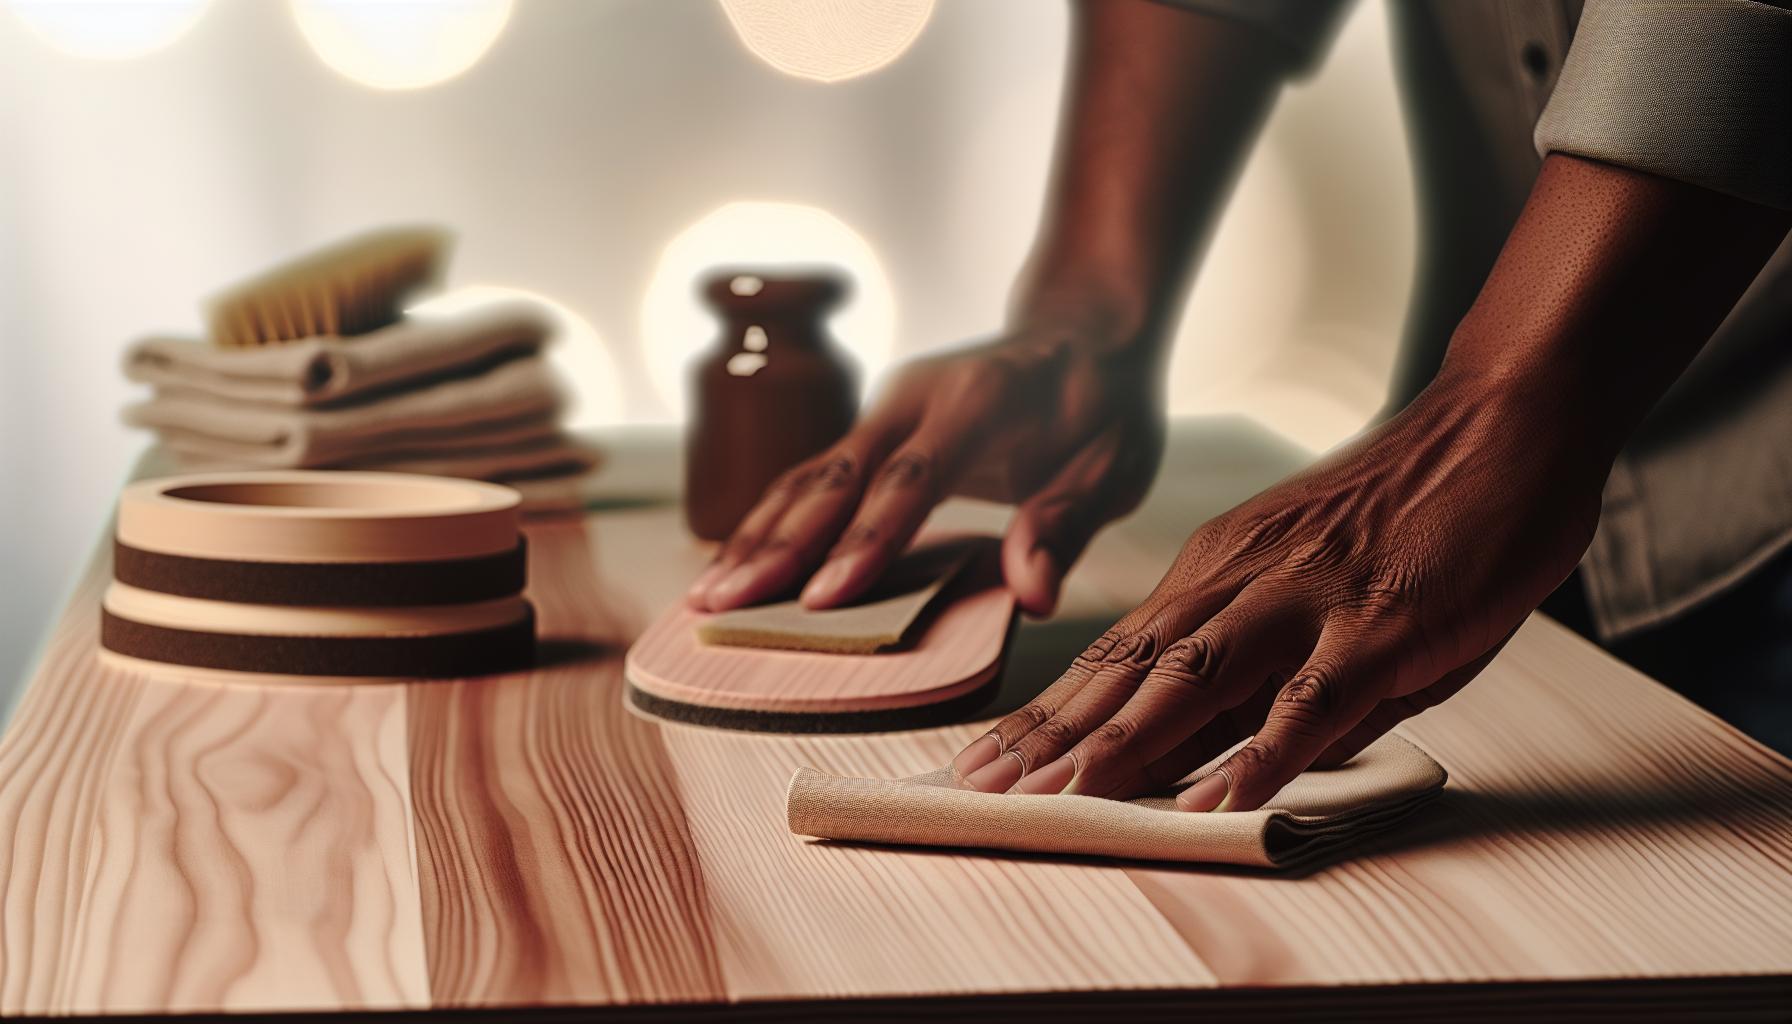
Before embarking on your waxing adventure, it’s crucial to ensure your wood surface is well-prepared, as this initial step sets the stage for a beautifully polished finish. Imagine your wood furniture as a blank canvas, where every crevice and groove beckons for attention. Proper surface preparation not only enhances the beauty of the wood but also allows the wax to adhere properly, ensuring long-lasting results.
Start by giving your piece a gentle clean. Use a soft, lint-free cloth to remove dust and dirt; this will help avoid scratches during the waxing process. If your furniture is particularly dirty or has accumulated grime, consider using a mild soap solution or wood cleaner, making sure to dry the surface thoroughly afterward. It’s important to create a clean slate, as any particles left on the surface can hinder the effectiveness of the wax application.
For older pieces, additional care may be needed. A light sanding with fine steel wool or sandpaper can help smooth out any imperfections, removing old finishes and allowing the new wax to fully penetrate the wood. Be sure to wipe away any residue with a damp cloth before moving on to waxing; otherwise, you risk sealing in the dust with the wax instead of achieving that sought-after shine.
Lastly, take a moment to assess the condition of your wood. Check for stains, scratches, or any repairs that might need attention before waxing. If there are significant blemishes, addressing them beforehand will contribute to a more uniform finish. It’s these small, considerate steps that reflect the charm and warmth of rustic living, showcasing the beauty of handcrafted care that resonates throughout your home. Embrace the process, and you’ll find that preparing your wood surface becomes a delightful ritual that prepares you for the masterpiece that lies ahead.
Step-by-Step Guide to Applying Wax
There’s something truly rewarding about applying wax to your wooden furniture, transforming it into a gleaming testament to care and craftsmanship. This delightful process not only protects your pieces but also enhances their natural beauty, inviting warmth into your cozy cottage space. Here’s a simple step-by-step guide to help you master this art.
Start by selecting the right wax for your furniture. A soft paste wax is often preferred for most wooden surfaces, as it provides a protective layer without altering the color significantly. Once you’ve chosen your wax, gather your tools: you’ll need a soft, lint-free cloth or a natural bristle brush for application. Ensure your wood surface is cleaned and prepared, as discussed in earlier sections.
With everything ready, take a small amount of wax-about the size of a quarter-and rub it onto your furniture in a circular motion. This helps the wax penetrate and adheres better to the wood. Work in manageable sections, applying a thin layer to avoid clumping. Here’s a practical tip: always wax in the direction of the wood grain to enhance its natural patterns and textures.
After applying the wax, let it sit for a few minutes. This allows the product to settle and bond with the wood. Once the waiting period is over, use a clean cloth to buff the surface gently. A little muscle creates a beautiful sheen and removes any excess wax, ensuring the finish is smooth and inviting. If you’re feeling adventurous, consider using a second cloth for a final buffing, which can elevate the shine, giving your furniture that “just polished” look.
As you embark on this charming ritual, remember to take your time and enjoy the transforming effects of waxing. With each stroke, you’re not only protecting your furniture but also nurturing the essence of rustic elegance within your home. Embrace the process, and soon your wooden treasures will reflect the love and meticulous care you’ve devoted to them.
Techniques for Achieving a Smooth Finish

Achieving a beautifully smooth finish on your furniture can transform a simple piece into a stunning focal point in your home. The key lies not just in the quality of the wax but also in the meticulous application techniques that enhance the natural beauty of the wood while providing lasting protection. With the right approach, you’ll leave behind a lustrous surface that invites touch and admiration, adding to the cozy ambiance of your cottage-style sanctuary.
One effective method for a smooth finish begins with proper wax application. Start by using a soft, lint-free cloth or a high-quality natural bristle brush to apply the wax. The cloth should be slightly dampened with mineral spirits, as this helps the wax glide across the surface more easily and reduces the likelihood of streaks. When applying the wax, always work in small, manageable sections of about two square feet, ensuring that each area is covered evenly. Remember to apply the wax in the direction of the wood grain, which not only enhances the texture but also helps avoid any blotchiness that can occur if applied against the grain.
After the initial application, allow the wax to sit for a few minutes; this waiting period is crucial as it lets the wax penetrate the wood. Once time is up, it’s time for the fun part-buffing. Using a clean, dry cloth, buff the waxed area in a circular motion, applying light pressure to create that coveted sheen. If your furniture tends to be more complex, with intricate details or carvings, consider using a fine brush to reach these nooks and crannies. For an extra layer of elegance, follow up with a second buff using a separate cloth, as this can bring out an even more profound shine.
Some additional tips include ensuring the room is well-ventilated, as this allows for faster drying and helps achieve that smooth finish without much hassle. Also, keep an eye on humidity levels; very high humidity can affect the waxing process, leading to an uneven finish. Lastly, always test your technique on a hidden area of the furniture to ensure the desired outcome.
By embracing these techniques, you’ll not only care for your furniture but also immerse yourself in the joyful ritual of wood care. The satisfaction derived from lovingly maintaining your wooden treasures is a testament to your dedication, contributing to the charm of your cozy, rustic retreat.
How Often to Wax Your Furniture

To keep your furniture looking its best and maintain its natural beauty, the frequency of waxing plays a crucial role. While it may seem daunting to find the right balance between maintaining your pieces and avoiding over-care, a few guiding principles can simplify the process and ensure your wooden treasures remain inviting and radiant.
In general, furniture that sees regular use-such as dining tables, coffee tables, and desks-benefits from a good wax application every three to six months. This timeframe allows the wax to build a protective barrier against moisture and dirt without becoming excessively thick, which can lead to unsightly buildup. Additionally, pieces in high-traffic areas may require more frequent attention; consider checking the finish quarterly to determine if it feels matte or rough to the touch, an indicator that it’s time for a refresher.
For items that are less frequently used, such as side tables or decorative pieces, you might extend the waxing interval to once a year. However, always keep an eye on their condition, especially if they are subjected to changes in humidity or direct sunlight. Environmental factors can affect how your furniture ages, so if you notice any dullness or uneven surfaces, use your judgment-better to wax sooner than let a coat degrade.
Lastly, during seasonal changes, it’s a great idea to assess your furniture’s wax finish. For example, the dry winter months can draw moisture out of wood, making it more susceptible to wear. Embrace the cozy spirit of cottage living by carving out a little time each season for a waxing ritual; it not only enriches the wood but also fosters a deeper connection to your cherished furnishings, enhancing the overall charm of your rustic sanctuary. Regular attention to your furniture will not only preserve its beauty but also ensure it remains a warm, inviting space for gatherings with family and friends.
Common Mistakes in Wax Application
In the world of furniture care, waxing is a beloved ritual that not only nurtures the wood but also deepens the bond between homeowner and heirloom piece. Yet, even seasoned furniture lovers can stumble when it comes to application. It’s all too easy to overlook key aspects, resulting in less than satisfactory outcomes. Embracing the charm of cottage living means valuing the beauty of craftsmanship, and avoiding common pitfalls in wax application can elevate your wooden treasures to new heights.
One of the foremost mistakes is neglecting to thoroughly clean and prepare the surface before waxing. Dirt, dust, and oils can interfere with the wax adherence, leading to a patchy finish that detracts from the wood’s natural luster. Always begin with a gentle scrub using a soft cloth and a suitable wood cleaner to ensure the surface is immaculate. Once clean, make sure the wood is completely dry, as any moisture can be trapped beneath the wax, causing damage over time.
Another frequent misstep is applying too much wax in a single go. Less truly is more in this case! Over-application can create an unsightly build-up that dulls the finish rather than enhancing it. Instead, work in thin layers, allowing each coat to dry fully before adding another. This patient approach not only prevents excessive buildup but also lets the wax work its magic, molding to the wood while offering effective protection.
Embracing a proper buffing technique is also essential; some may rush through this step in excitement, but waxing is about creating a smooth, rich finish. Use a soft, clean cloth to buff the wax gently in circular motions. The goal is to blend the wax into the wood, highlighting the grain without creating streaks or uneven patches. This step adds a touch of sophistication to your piece, inviting admiration from all who enter your cozy abode.
Ultimately, taking the time to understand and avoid these common missteps will enhance not only the aesthetic appeal of your furniture but also its longevity. As you cultivate your rustic sanctuary, let each waxing session be a moment of connection-between you and your home, and between the past and future. Celebrate the beauty of handcrafted wood by mastering the art of wax application, ensuring your treasures shine in their full glory for years to come.
Caring for Different Wood Types with Wax
The beauty of natural wood can be both a joy and a challenge, especially when it comes to proper care. Each type of wood has its unique characteristics and requirements, making it essential to tailor your waxing technique to suit the specific needs of your furniture. Not only does this help maintain the beauty of your pieces, but it also extends their life, making every moment spent in their company feel special and cherished.
Softwoods vs. Hardwoods
Softwoods like pine and cedar tend to absorb wax easily, which allows for a quicker application process. However, they are also more prone to scratches and dents, requiring more frequent waxing to maintain their luster. Aim to apply a thin coat of wax, allowing it to soak in, followed by a gentle buff to enhance their natural grain. In contrast, hardwoods such as oak and maple are denser and more resilient. These woods may need a little more effort during the application process, but once maintained with regular waxing, they develop a beautiful patina that adds character.
Special Considerations for Exotic Woods
Exotic wood types, such as mahogany or teak, offer stunning visual appeal but often require specialized care. Their natural oils make them resistant to moisture and pests, but this also means that wax may not adhere as effectively. In these cases, you might consider using a wax designed specifically for these woods, or apply a small amount of mineral spirits before waxing to help the wax penetrate better. Regular attention will help these stunning pieces continue to shine and draw admiration.
Color and Finish Awareness
It’s also important to be mindful of the color and finish of the wood you are caring for. Darker woods like walnut can show wax residue more easily, so it’s paramount that you apply the wax sparingly and buff thoroughly. On the other hand, lighter woods benefit from waxes that can highlight their natural brightness without overpowering it. Additionally, always test any new product on a hidden area before applying it widely to ensure it complements the wood’s finish perfectly.
is a beautiful blend of art and technique, inviting warmth and character into your cozy home. By understanding the specific needs of each wood type and giving them the attention they deserve, you not only preserve their beauty but also cultivate a deeper connection with each handcrafted piece. Every stroke of wax is a celebration of your furniture’s history, ensuring that these beloved items continue to tell their stories through generations.
Reviving Old Furniture: Waxing Tips
Reviving old furniture can feel like bringing a piece of history back to life, and there’s something profoundly satisfying about that. As you take on the rewarding task of restoring your cherished items, consider that the right waxing technique can enhance their beauty and longevity, allowing them to shine in your cozy cottage. The warmth of natural wood, when treated with care, can transform your living space and evoke a sense of handcrafted charm that perfectly encapsulates rustic living.
To begin, carefully assess the condition of your vintage wood furniture. Look for signs of wear such as scratches, stains, or dullness. A thorough cleaning is the first step in your revival process. Use a gentle soap and water solution to wipe down surfaces, removing dust and grime without damaging the finish. Allow it to dry completely before applying any wax. Once clean, apply a high-quality wax that suits the type of wood you’re dealing with-it can be a beeswax blend for softwoods or a specialized product for hardwoods.
When you start waxing, remember to work in small sections. Use a soft cloth or a wax applicator to apply a thin coat of wax, moving in the direction of the wood grain. Take your time to ensure even coverage, as this is where you truly breathe life back into the piece. After application, buff the surface with a clean, dry cloth, paying attention to any areas that might need an extra shine. This not only creates a protective layer but also enhances the wood’s natural luster, giving it a renewed elegance that enhances your rustic décor.
For those particularly stubborn blemishes or to restore a deep shine, consider layering the wax after the initial application has dried. This technique allows for the build-up of a richer, more durable finish. Embrace the process by using it as a time to reflect and connect with your home, knowing that each layer of wax is a touch of love to your treasured furniture, weaving their stories into the fabric of your cozy home. Celebrate these moments of restoration as you reclaim not just these pieces of furniture, but also a piece of history that will become part of your family’s narrative.
How to Remove Wax Build-Up Effectively
Over time, even the most lovingly cared-for furniture can accumulate a stubborn wax build-up, clouding its beauty and dulling its charm. If you’re experiencing this problem, fear not! With a bit of patience and the right approach, you can restore your wood pieces to their former glory, allowing the natural grain to shine through once more.
To start, gather your tools: you’ll need a soft cloth, a gentle cleaner (consider a mixture of equal parts vinegar and water for a natural option), and some mineral spirits or paint thinner. Begin by dusting your furniture to remove any loose particles. Once clean, dampen your cloth with the vinegar mixture and gently wipe the surface. This step not only cleans but also softens the wax build-up, making the next phase easier.
Next, use a separate cloth, slightly dampened with mineral spirits, to buff the waxy areas. Work in small sections, applying firm, even pressure while following the direction of the wood grain. Be mindful to change your cloth frequently to avoid reapplying the waxed residue. The mineral spirits will help dissolve the wax, allowing you to remove layers of build-up gradually.
Finally, once you’ve achieved a smooth finish, give your furniture a good rinse with plain water and dry it thoroughly. After your piece is clean and free of wax, consider applying a fresh coat of wax, this time using a high-quality product suited to your wood type, to protect the newly revealed surface. With just a little effort, you’ll not only restore the character of your favorite pieces but also enjoy the satisfaction of maintaining the rustic, cozy feel that defines your cottage décor.
Seasonal Tips for Maintaining Wax Finish
As the seasons shift, so too do the needs of your cherished wooden furniture. Wax finishes not only protect but also enrich the natural beauty of wood, capturing the warm essence of cottage living. However, with changing temperatures and humidity levels, it’s essential to adapt your maintenance routine accordingly. Embrace the rhythm of the year and keep your furniture looking its best through attention and care tailored to each season.
In the dry winter months, the low humidity can cause wood to shrink and crack. To prevent this, consider applying a fresh coat of wax more frequently, perhaps every six to eight weeks. This adds an extra layer of protection against the dry air. Choose a wax that contains natural oils, which can help nourish the wood. Remember to buff it gently with a soft cloth afterward to maintain that beautiful sheen. As you cozy up with a hot cup of tea, take a moment to savor the improvement in your furniture’s appearance, knowing that you’re extending its lifespan.
Spring brings renewed life, and it’s the perfect time to engage in a thorough cleaning of your furniture. With the influx of dust from opening windows and a fresh garden cleanup, your surfaces may need some attention. Start by dusting thoroughly and then follow up with a gentle cleaner. Afterward, an application of wax will restore the luster, preparing your home for summer gatherings and sunny afternoons. A light wax application can also eliminate any sticky residue left from the post-winter cleanup and protect against the moisture that comes with spring showers.
Summer, with its bright sun and potential humidity, calls for vigilance in maintaining that gorgeous wax finish. Consider keeping your furniture out of direct sunlight, as UV rays can dull the wax over time. If your pieces are exposed to sunlight, applying a coat of wax every two to three months will help guard against fading. You might find it charming to invite neighbors over for a friendly afternoon of furniture care, turning maintenance into a shared experience that deepens community ties and encourages a spirit of togetherness.
As autumn rolls in, take time to inspect your furniture for any signs of wear that may have emerged over the summer. This is a great opportunity to remove any old wax build-up and refresh the surfaces. A light sanding may be needed in areas where moisture might have gathered. After cleaning, apply a fresh coat of wax. Position your furniture near windows adorned with autumn leaves to enhance your home’s cozy, rustic appeal. A well-maintained finish promises to reflect the warm hues of the season, making your space inviting and beautiful.
By embracing these seasonal tips, you’ll not only maintain the elegance of your furniture but also cultivate a home that radiates comfort and personality throughout the year.
DIY Wax Recipes for Your Furniture
Creating your own furniture wax can be both a fulfilling and budget-friendly way to care for your beloved wooden pieces, reflecting the charm of cottage living. Homemade wax not only nourishes the wood but also provides a layer of protection, sealing in its natural beauty. Moreover, crafting your own product allows you to choose the scents and ingredients that resonate with your personal aesthetic and preferences, turning a practical task into a delightful experience.
One simple recipe to get you started involves just three ingredients: beeswax, coconut oil, and your favorite essential oils for a dash of fragrance. Gather the following:
- 1 part beeswax: This natural wax creates a hard finish and adds durability.
- 3 parts coconut oil: Known for its moisturizing properties, it will help your wood retain its natural luster.
- Optional essential oils: A few drops of lemon or lavender oil can enliven your wax while offering additional antibacterial properties.
To prepare your wax, gently melt the beeswax in a double boiler until it is liquid. Once melted, stir in the coconut oil until the mixture is smooth. If you’re adding essential oils, include them now, allowing the warmth to activate their scents. Pour the mixture into a small container and let it cool completely before use.
Using Your DIY Wax
Once your wax has solidified, it’s ready to bring life back to your furniture. Start by dusting your wooden surfaces with a soft cloth to remove any dust and debris. Then, apply a small amount of wax using a clean, lint-free cloth, working in the direction of the wood grain. Allow the wax to penetrate for about 15 to 20 minutes, then buff with a dry cloth until you achieve the desired sheen. This process not only helps to create a protective barrier against moisture and dirt but also gives the wood that rich glow that embodies rustic charm.
Additional Tips
Be sure to store your DIY wax in a cool, dark place to preserve its quality. Just like the changing seasons, your furniture’s needs will also fluctuate; consider reapplying the wax as part of your seasonal maintenance routine. With every application, you’re not only preserving the wood but also nurturing the legacy of your home, imbuing it with the warmth and beauty reflective of cottage living. Invite friends over for a cozy afternoon of furniture care, sharing tips and recipes, and turning maintenance into a cherished community activity. Enjoy the simple joys of a well-cared-for home, thriving with personalized warmth and character.
FAQ
Q: How can I tell if my furniture needs waxing?
A: You can tell if your furniture needs waxing by checking for a dull appearance or a rough texture. If water quickly beads on the surface, it indicates the wax layer is still intact. However, if it soaks into the wood, it’s time to apply a fresh coat of wax. For detailed advice, see our section on how often to wax your furniture.
Q: What type of cloth should I use to apply wax to furniture?
A: Use a soft, lint-free cloth to apply wax to furniture. Microfiber or cotton cloths work best as they prevent scratches and ensure an even application. For a thorough process, check our section on essential tools for wax application.
Q: Can I apply wax over painted furniture?
A: Yes, you can apply wax over painted furniture, but ensure the paint is fully cured. Wax enhances the finish and provides protection. For tips on achieving the best results, refer to our step-by-step guide to applying wax.
Q: How do I remove scratches from waxed furniture?
A: To remove scratches from waxed furniture, lightly sand the area with fine-grit sandpaper, then clean it and reapply wax. This technique helps blend the scratch with the surrounding finish. For common mistakes to avoid, explore our mistakes section.
Q: What are the benefits of using beeswax over other types of wax for furniture?
A: Beeswax offers a natural, nourishing finish that enhances color and depth in wood. It also resists moisture and isn’t petroleum-based, making it a safe option for furniture care. Learn more about choosing the right wax in our article.
Q: Is it safe to use furniture wax on kitchen cabinets?
A: Yes, using furniture wax on kitchen cabinets is safe, but opt for a food-safe wax. Regularly maintain the finish to prevent buildup and enhance the cabinets’ appearance. For more about caring for different wood types, check our dedicated section.
Q: How can I maintain my wax finish during seasonal changes?
A: To maintain your wax finish during seasonal changes, regularly dust surfaces and avoid excessive moisture. Reapply wax when needed, especially after humidity fluctuations. For seasonal tips, refer to our practical advice section.
Q: When is the best time to wax furniture?
A: The best time to wax furniture is during mild weather conditions, ideally in spring or fall, to avoid temperatures extremes which can affect application. For more detailed scheduling guidance, visit our seasonal tips section.
These FAQs provide targeted insights that enhance your understanding of furniture waxing while leading you to explore further within the article. Happy caring for your wood pieces!
Insights and Conclusions
Thank you for joining us in mastering the art of wood care! Remember, applying wax to your furniture not only enhances its beauty but also offers protection for years to come. If you found value in this guide, why not dive deeper into our related articles on DIY decor projects and rustic home design? Your journey toward a cozy, handcrafted living space doesn’t have to end here!
Need a refresher on your next steps? Check out our tips for seasonal gardening or explore our Miniature Builds section for a fun way to express your creativity. Don’t forget to subscribe to our newsletter for more inspiring content delivered right to your inbox-perfect for fostering the charm of cottage living. Share your thoughts in the comments below or connect with us on social media; we love hearing from our community! Embrace the simple joys of rustic lifestyle and let your home tell your story.